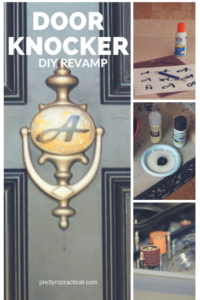
When we moved into our house, there was a personalized door knocker with the previous owner’s name on it. So we measured and went to look for a door knocker to replace it. We looked high and low (and at Lowe’s). We looked at Home Depot and Ace Hardware and at all sorts of places online. We simply could not find a door knocker the right size and color (silver or steel or brushed nickel). We weren’t picky, they just couldn’t be found! So I decided to try a little experiment!

First I used my best and trusty friend, my Dremel, to make the previous owner’s name disappear. I used the bit found above… the light tan colored stone bit. Don’t ask me what that bit is called… maybe a grinder of some sort? My husband didn’t like the look, but I told him the brushed metal finish is all over the Denver International Airport! It didn’t work 😦 Oh well, now what?

So I decided that maybe it wouldn’t look so bad if we added a painted monogram.
Here is how I did it!
I measured the area where I was going to put the monogram and printed out the letter “A” in a bunch of different sizes and fonts. I chose one, and then cut it out with the exacto and mat. I cut all the pieces out and left them in place.

Then I sprayed the back of the paper (with all the pieces) with spray adhesive. Then I stuck the paper on the door knocker. I carefully removed the portion that was going to become the letter (the black part), leaving the white spaces in the letter.

This is my palette and brushes, and yes, I used the expensive Q-Tips! 🙂 Actually, I used them to put down a “primer coat”, which was just a test. Then I sprayed the monogram with the spray paint.
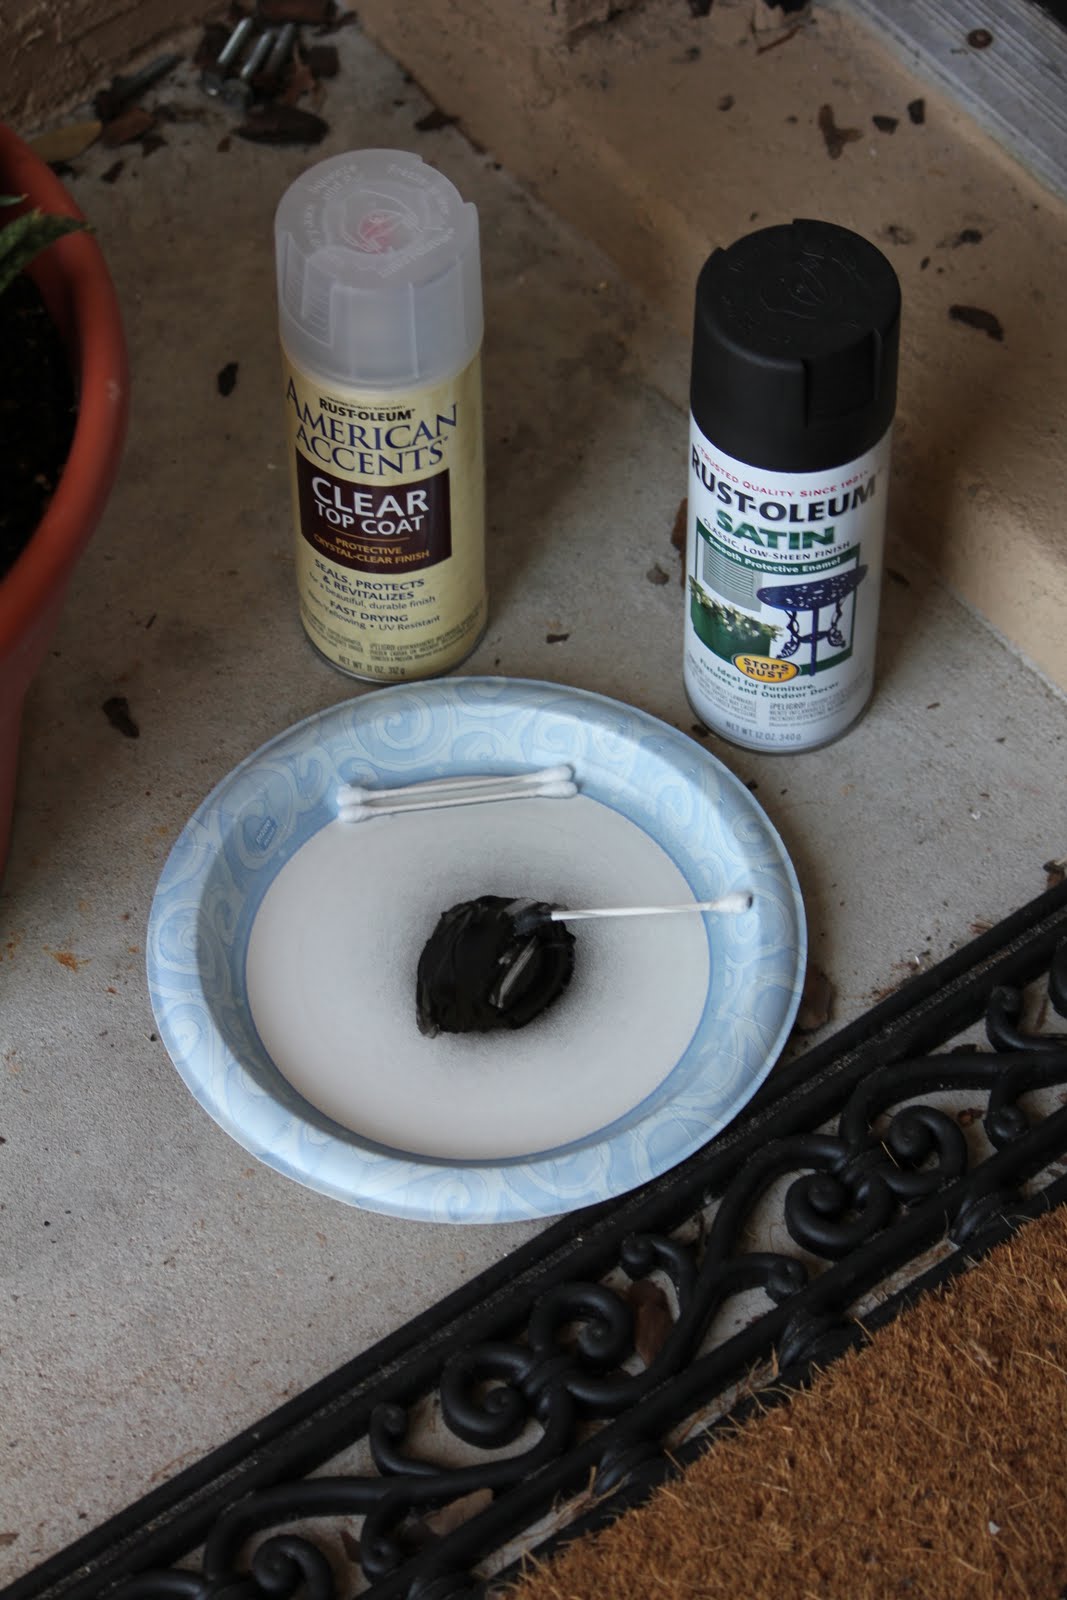
Once the paint was dry, I removed the paper. I noticed a few places where the paint bled a bit, so I used my trusty Q-Tips and a little nail polish remover to clean it up! After it was dry, I sprayed the oval part of the door knocker with the clear acrylic top coat. I don’t know how it will last, but I’m hoping it will work for a while. It’s not perfect, but at least it will give me a chance to find something!

Inexpensive Door Knocker Revamp